
How to Fix a Dead Car Battery: A Step-By-Step Guide
If you’ve ever encountered a dead car battery, you are aware of the inconvenience and frustration that can result. Fortunately, you don’t always need to call for professional help or buy a new battery. In this guide, we will show you how to fix a dead car battery with easy-to-follow steps. So, let’s get started!
Step 1: Safety First
Make sure your automobile and yourself are safe before doing any work on the battery. Take the following safety measures:
Switch off the Engine: To avoid any electrical mishaps, make sure the ignition is off.
Put on Safety Gear: To protect yourself from acid and other hazardous materials, put on safety gear such as gloves and goggles.
Park Your Car Safely: Position your vehicle away from sparks and open flames in an area with good ventilation.
also read: common problems after engine replacement
Step 2: Identify the Problem
To fix a dead battery, you need to understand what’s causing the issue. Start by identifying the problem:
Check for corrosion: Examine the battery terminals for white, powdery corrosion. If you see it, you may have a poor connection.
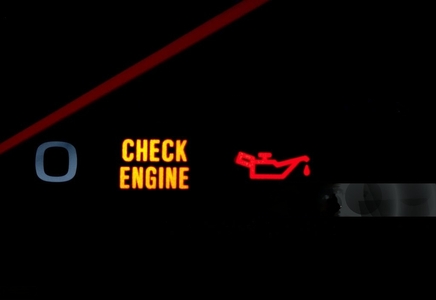
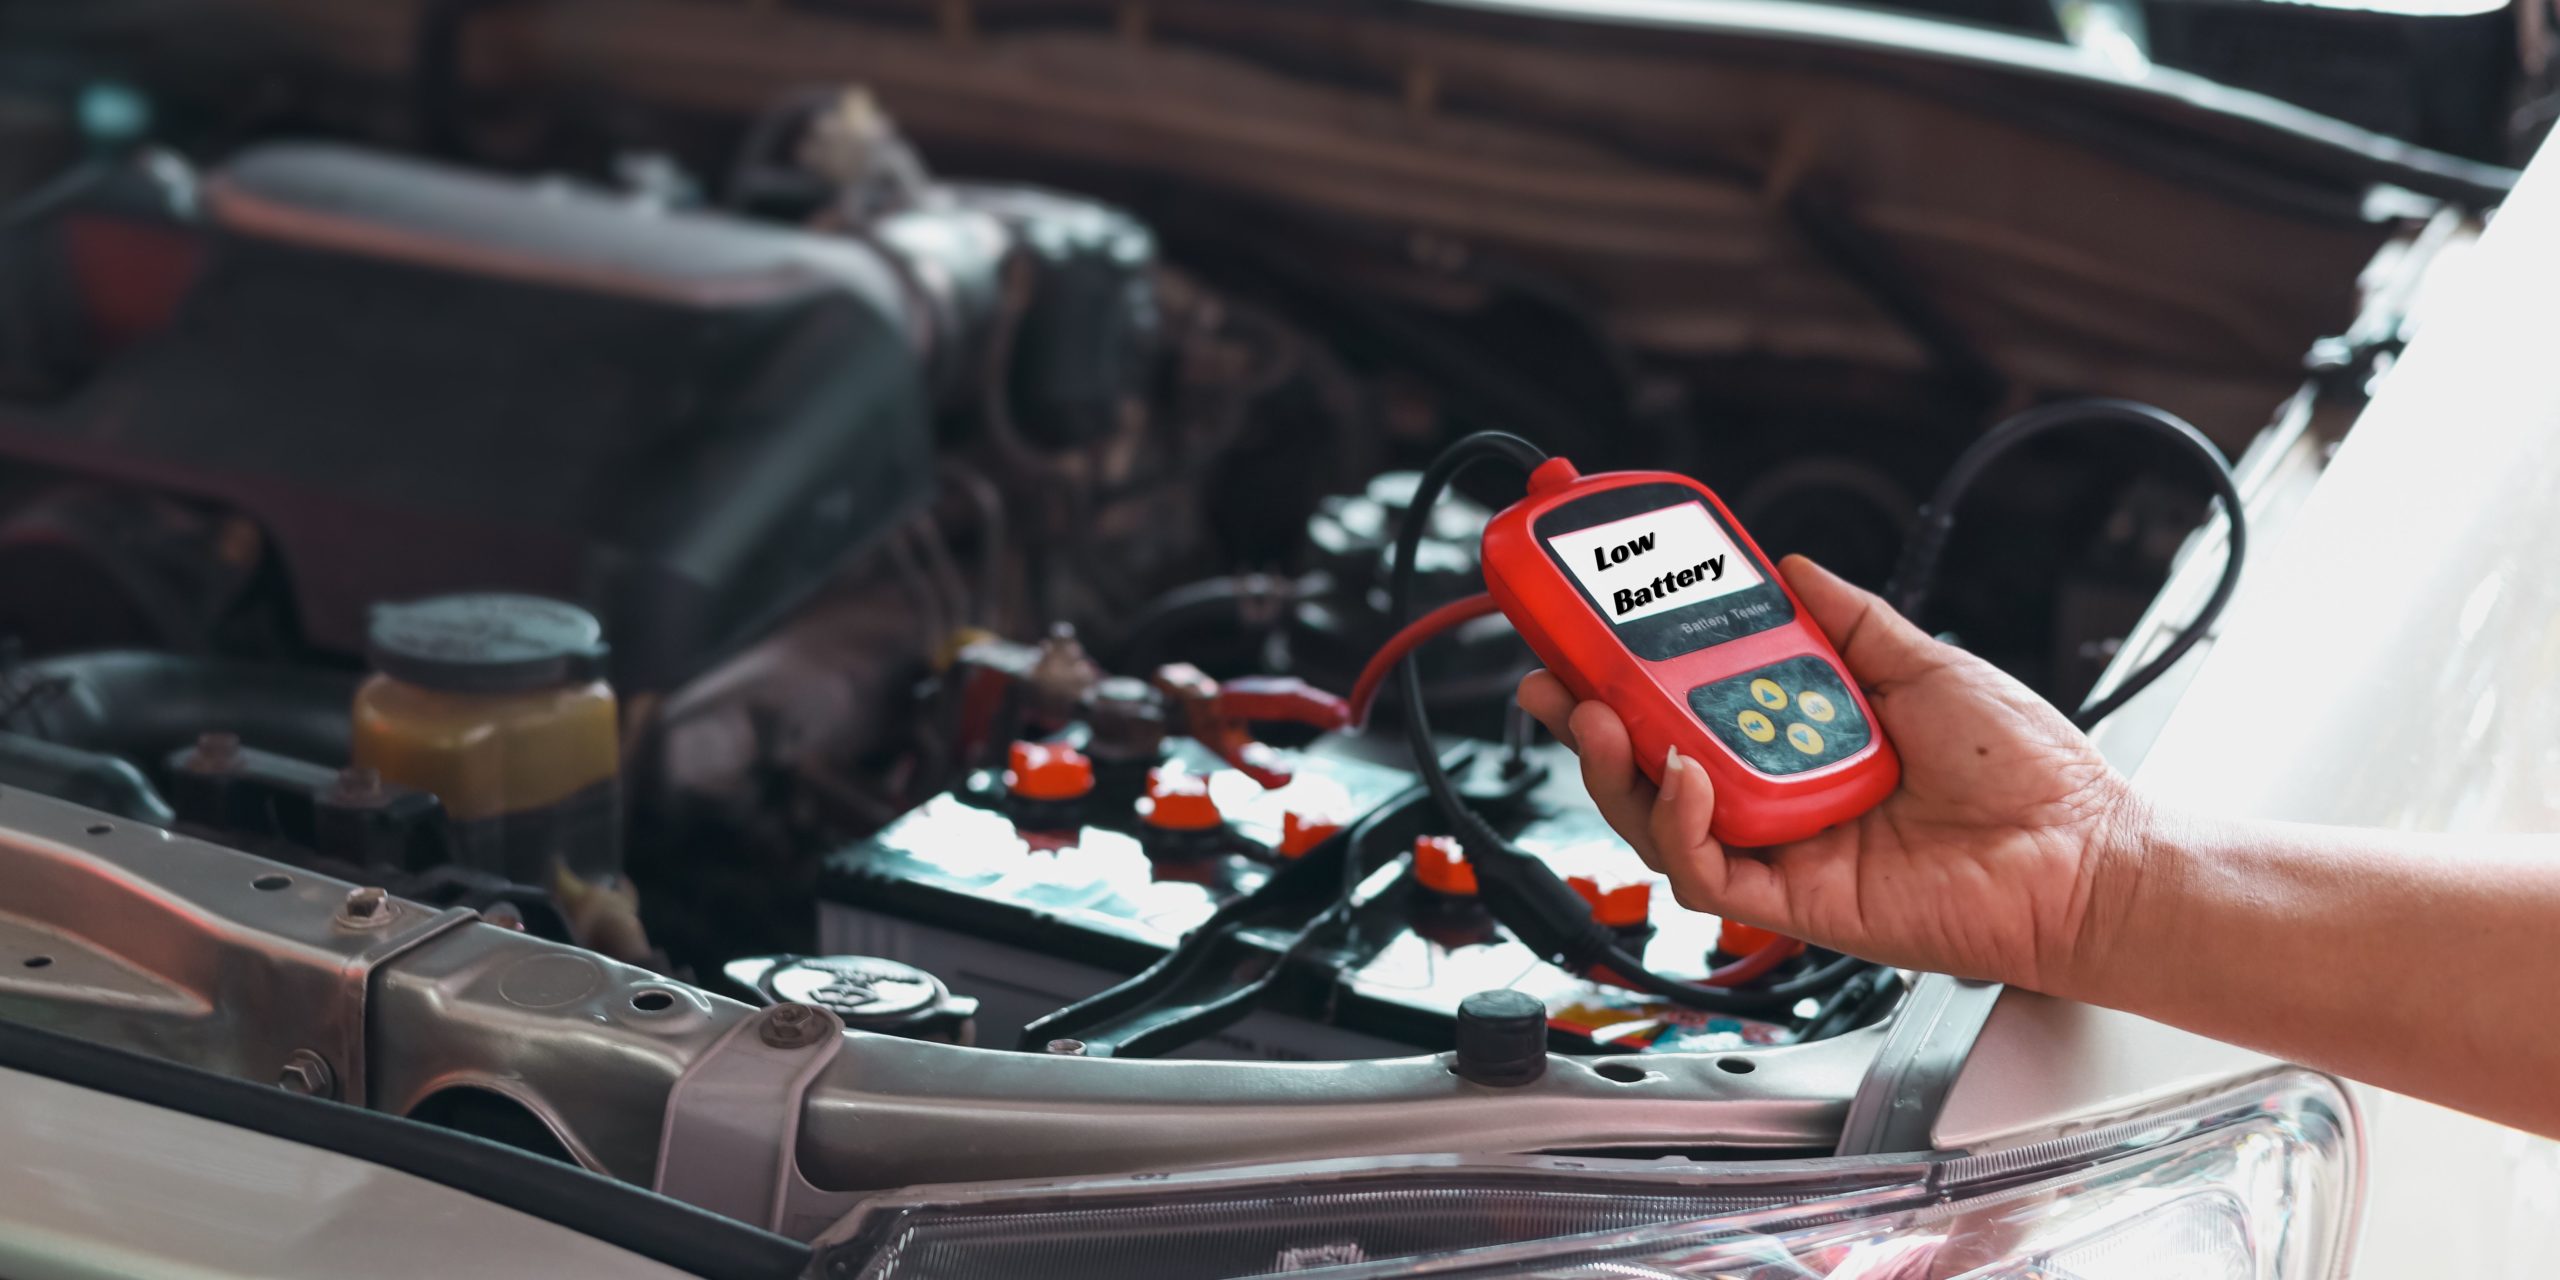
Measure Voltage: To find out the voltage of your battery, use a multimeter. 12.6 volts is the recommended voltage for a good automobile battery. Anything less than 12 volts might be a sign of trouble.
Visual Inspection: Examine the battery for any obvious indications of damage or leakage. It could be time for a replacement if you locate any.
Step 3: Jumpstart Your Car
If your battery’s voltage is too low to start your car, you can jumpstart it using these steps:
Prepare Jumper Cables: Ensure you have a set of jumper cables on hand.
Find a Good Samaritan: Ask for assistance from another driver with a working vehicle.
Connect the Cables: Follow these steps to connect the cables:
The positive end of your dead battery is connected to the red (positive) wire.
The opposite end of the red cable is connected to the positive battery terminal.
Attach the black (negative) cable to the good battery’s negative terminal.
Affix the opposite end of the black wire to a metal surface on your automobile that isn’t painted, keeping it away from the battery.
Start the Working Car: Have the owner of the working automobile start and run the engine for a few minutes.
Start Your Car: After a few minutes, try to start your car. If it starts, leave it running for a while to charge your battery.
Disconnect Cables: Disconnect the jumper cables in reverse order after your automobile is functioning.
Step 4: Clean Corroded Terminals
If the issue is corrosion, you can fix it by cleaning the battery terminals:
Safety First: Ensure your car is turned off.
Prepare a Solution: To make a cleaning solution, combine one cup of water and one tablespoon of baking soda.
Scrub Terminals: Work on the corroded terminals until they are clean by dipping a wire brush or an old toothbrush into the solution.
Rinse and Dry: Use plain water to rinse off the baking soda solution and allow the terminals to dry completely.
Reconnect: Reconnect the cables to the battery terminals when the terminals have dried. To check if your automobile starts, start it.
Step 5: Charge the Battery
Try using a battery charger to recharge the battery if it’s still not holding a charge:
Safety First: Make sure the ignition is off, and your automobile is parked in a well-ventilated place.
Connect the Charger: To connect the charger, place the positive (red) charger clamp on your battery’s positive terminal and the negative (black) clamp on its negative terminal.
Select the Charging Mode: To determine which charging mode is best for your particular battery type, go to the handbook that came with your battery charger.
Charge the Battery: Start the charging process and follow the charger’s instructions. Charging times can vary depending on the charger and your battery’s condition.
Monitor the Battery: Periodically check the battery voltage to see if it’s rising. Once it reaches a healthy level, disconnect the charger.
Reconnect and Test: After disconnecting the charger, reconnect the battery to your car and attempt to start it.
Step 6: Epsom Salt Solution
If your battery is still not holding a charge after cleaning and charging, you can try rejuvenating it with an Epsom salt solution:
Create the Solution: Three teaspoons of Epsom salt should be dissolved in warm distilled water.
Remove Cell Caps: If the cell caps on your battery are detachable, take care when removing them.
Add Solution: Pour the Epsom salt solution into each cell of the battery.
Recharge: After adding the solution, recharge the battery as described in Step 5.
Replace Caps and Test: Once fully charged, replace the cell caps and test your battery’s performance.
Step 7: Battery Load Test
If your battery still doesn’t perform as expected, consider performing a load test:
Acquire a Load Tester: A battery load tester is available for purchase or loan.
Prepare the Battery: Make sure you’ve completely charged the battery.
Connect the Load Tester: As directed by the device, attach the load tester to the battery terminals.
Apply Load: Put a load on the battery by turning on the load tester. It will measure how well the battery holds up under load.
Interpret Results: A healthy battery should maintain voltage within an acceptable range while under load. If your battery fails this test, it’s time for a replacement.
Step 8: Battery Replacement
If all else fails and your battery can’t be revived, it’s time for a replacement:
Select the Right Battery: Ensure you choose a replacement battery that matches your car’s specifications.
Disconnect Old Battery: After turning off the ignition, disconnect the positive (red) terminal and then the negative (black) connection.
Remove the Old Battery: Unbolt the battery from its holder and carefully remove it from the vehicle.
Install the New Battery: After inserting the fresh battery, make sure it’s secure. The negative (black) terminal should be connected after the positive (red) terminal.
Securely Fasten the Battery: Make sure the battery placement is secure so that it won’t move while driving.
Dispose of the Old Battery: Take the old battery to a recycling center or an auto parts store for proper disposal.
Step 9: Preventative Measures
To avoid future dead battery situations, consider these preventative measures:
Regular Maintenance: Perform regular maintenance on your battery, including cleaning terminals and checking the water level if your battery requires it.
Drive Your Car: Starting your car and regularly driving a reasonable distance helps keep the battery charged.
Invest in a Battery Tender: If you have a vehicle that sits for extended periods, consider using a battery tender to keep the battery in good condition.
Keep Your Battery Warm: In cold climates, consider using a battery blanket or parking your car in a garage to prevent extreme temperature-related issues.
Check for Parasitic Drains: Periodically inspect for any electrical devices or systems that may be drawing power from your battery when the car is off.
also read: Review on SBT Japan used cars
Conclusion
A dead car battery can be a major inconvenience, but it’s often fixable with the right knowledge and tools. You may be able to save money on a replacement battery and maybe revitalize yours by following these instructions and safety considerations. However, if your battery is no longer viable, make sure to replace it with the right type to ensure your car’s reliability. Remember to perform regular maintenance and take preventative measures to keep your battery in top shape. With the information provided in this guide, you can confidently tackle the challenge of fixing a dead car battery and keeping your vehicle on the road.
Now that you know how to fix a dead battery, you can avoid the frustration and inconvenience of unexpected breakdowns. Follow our step-by-step guide and get back on the road with confidence.